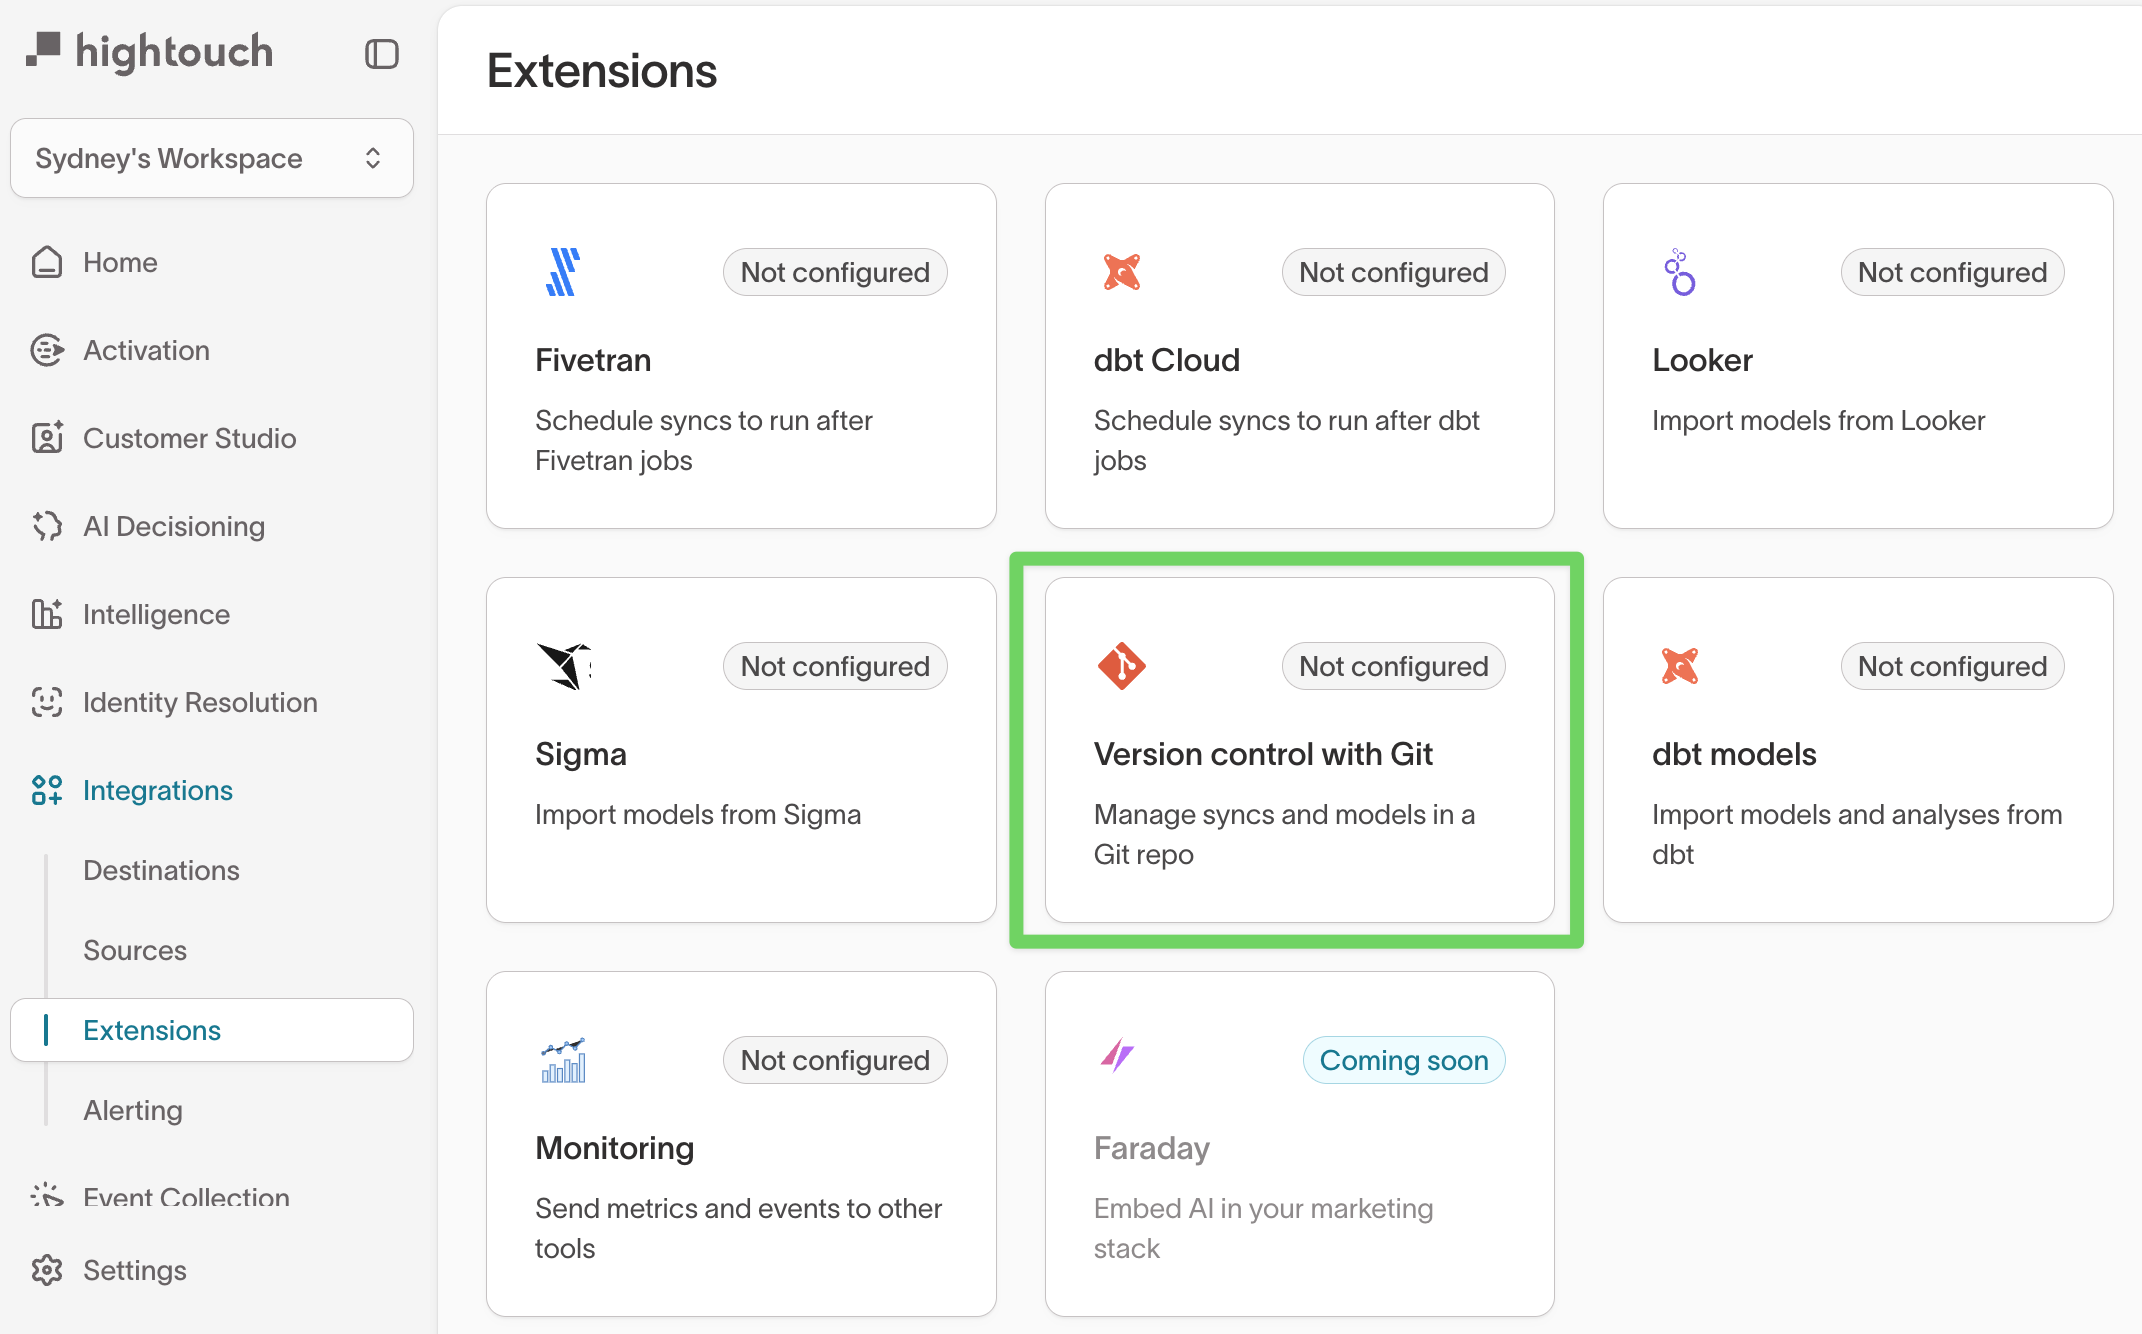
Schema Git Sync extends Git Sync, Hightouch’s integration for version-controlling resources in Git, to include Customer Studio schema models, events, and relationships. Use it to keep schemas consistent across environments (for example, staging and production) and to version, review, and recover changes directly from your Git repository.
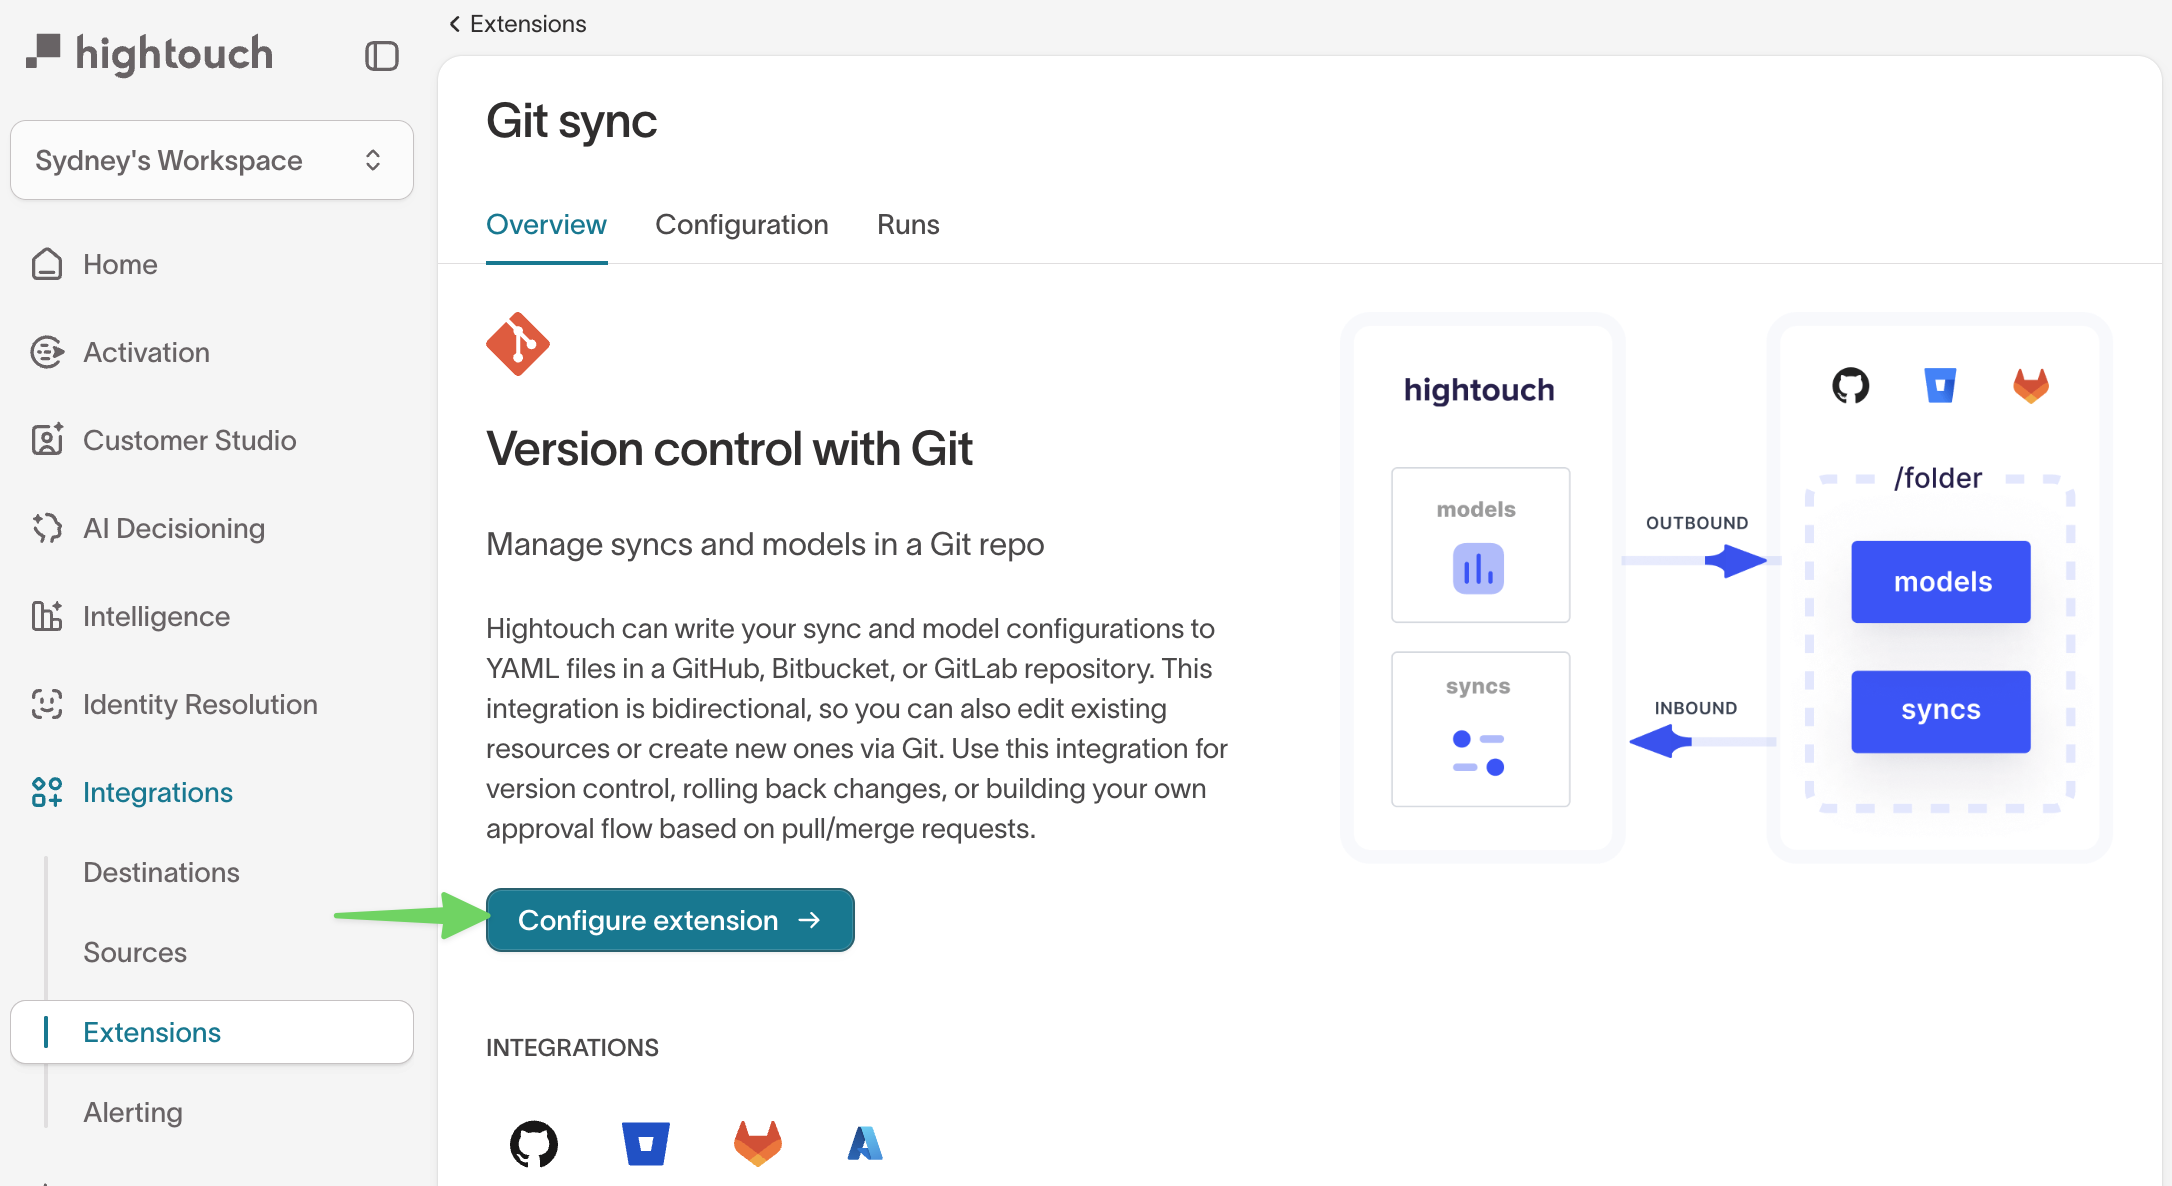
Schema Git Sync connects your Customer Studio schema—parent, related, and event models, plus their relationships—to a Git repository.
Whenever you update your schema in Hightouch, the changes are automatically written to YAML files in Git, and vice versa.
This gives your team all the benefits of version control for your customer data model:
Every schema change is captured as a Git commit.
You can roll back to earlier versions if needed.
Teams can review and approve schema updates using pull requests.
Environments like staging and production can stay perfectly aligned.
Think of it as turning your schema into infrastructure as code: you define your data model in Hightouch, but track, share, and deploy it safely through Git.
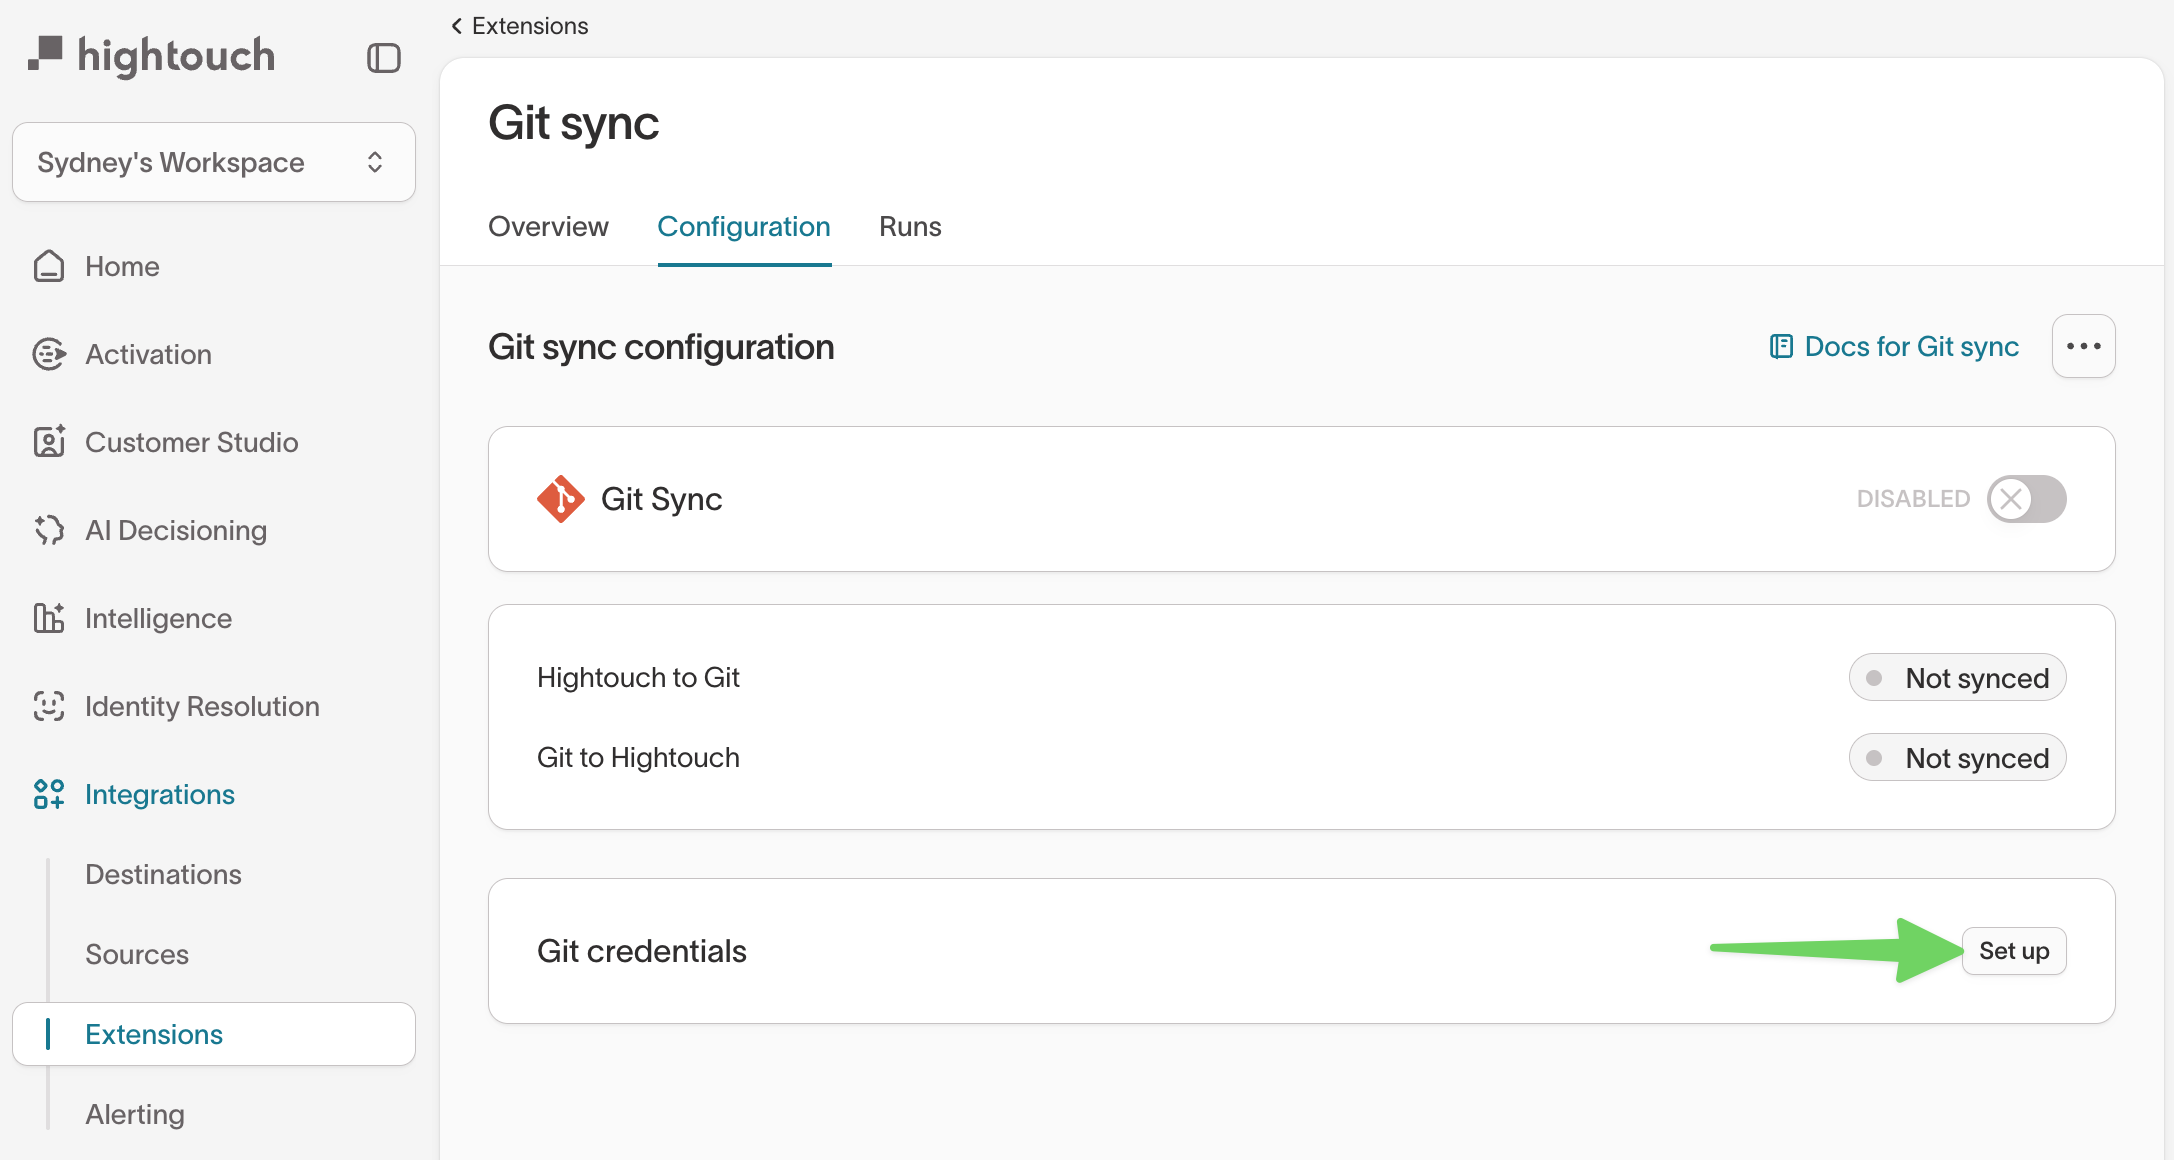
For authentication, repository setup, and permissions, see the main Git Sync guide →.
Create a dedicated Git repository for your schema files.
Hightouch uses this repo to store YAML definitions for all models, events, and relationships.
Automatically generated repository structure:
/syncs/ # YAML files for all syncs
/models/ # YAML files for all models
/schema/ # Customer Studio schema files
├── event-models/ # Event model definitions
├── related-models/ # Related model definitions
├── parent-models/ # Parent model definitions
├── model-relationships/ # Relationship model definitions
manifest-*.yaml # Auto-generated source/destination listings
You can use a single branch for all workspaces if their schema configurations are identical.
If any environment diverges—for example, if your staging workspace includes additional parent models or experimental relationships—you can assign each workspace a unique branch or sub-path to isolate those differences.
Example mapping (for divergent environments):
Environment
Workspace
Git Branch
Staging
hightouch-staging
schema-staging
Production
hightouch-production
schema-production
If all workspaces share the same schema and parent model structure, you can safely use the same branch across environments.
Once Git Sync is enabled and YAML generation is turned on, Hightouch automatically performs an initial full sync of your schema. This first sync creates YAML files for your models, events, relationships, alias files, and manifest files in your Git repository.
After the initial setup, any changes you make in Customer Studio—such as creating or editing models or relationships—are automatically committed to Git within about 30 seconds.
You can monitor progress in the Runs tab of the Git Sync extension or by checking your Git commit history.
Initial sync: Runs automatically when Git Sync is first enabled.
Automatic updates: Every schema change in Customer Studio commits automatically to Git within about 30 seconds.
Two-phase commits: Hightouch commits models first, then relationships, to prevent dependency errors.You don’t need to manage this sequencing manually; Hightouch handles it automatically during both manual and automatic syncs.
Full resyncs: You can trigger a full resync manually if you change repository or branch settings, or to troubleshoot issues.
Large initial syncs may take 10–20 minutes depending on schema size.
Git Sync feature flag is enabled for each workspace.
Each workspace includes an alias file (aliases-{workspace-slug}.yaml).
Branches or paths are unique only if environments diverge (for example, different parent models).
Schema setup
All workspaces use identical model slugs if they share the same schema YAMLs.
Source and destination slugs can differ; Hightouch manages these automatically through alias files.
Data sources are cloned consistently across environments.
If these prerequisites aren’t met, your sync may fail with error serializing resource.
If model slugs don’t match across workspaces, Hightouch can’t link shared schema YAMLs correctly. Alias files handle differences for sources and destinations, but not for models.
Hightouch uses resource slugs—unique identifiers for each model, source, or destination—to link schema YAML files in Git with the corresponding resources in each workspace connected to Git Sync.
To maintain consistency across environments:
Model and event contract slugs must be identical across workspaces sharing the same repository.
Source and destination slugs can differ between environments because Hightouch automatically handles those differences through alias files.
Alias files act as a translation layer between environments. When your staging and production workspaces use different data sources or destinations, these files ensure the same schema YAMLs continue to work correctly in both.
Each workspace connected to Git Sync automatically gets its own alias file in your Git repository:
aliases-{workspace-slug}.yaml
You don’t need to create these files manually—Hightouch automatically generates an empty alias file if one doesn’t exist.
If your workspaces use different data sources or destinations, (for example, snowflake-dev in staging vs. snowflake-prod in production), you can edit these files to define the correct mappings for each environment.